Activity 4: Set Up Your Project Repo
Project 1 has been released as of today. This activity helps you get started.
Work side by side and help each other, but everyone will make their own copy of the repo and submit separately on gradescope.
Part 1: Make your own copy
- Make sure you have a GitHub account.
- Go to the project repo on GitHub: https://github.com/rust4ds/ds210-fa26-project-1. The full project instructions are on the course website, which links there too.
- Click the green Use this template button, then Create a new repository.
- Name it
ds210-fa26-project-1, the same as ours, so it is easy for us to find when you ask for help. Set it to Private. Then click Create repository.
Your copy is yours. Nobody else can see it, including the rest of the class.
Wait, isn't this what forking is for?
Almost, though the difference is worth understanding, because you will eventually encounter forking too.
Use this template makes an independent copy. Your repo starts with our files and then has nothing more to do with ours. That is what we want here: you are starting your own project, and your work should be yours and private.
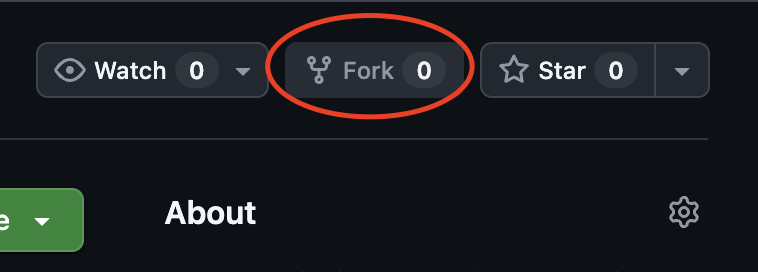
Fork also makes a copy, but GitHub remembers where it came from. Your fork is listed publicly on the original repo, you get a button to pull in the original's later changes, and you can open a pull request to offer your changes back. The main reason we're not using forks here is it would force everyone's work to be visible to everyone else.
The Fork button sits in the upper right, and you will use it eventually, just not today:
Part 2: Clone
- Still in GitHub, navigate to your own copy of the repo. Above the list of files, click the green "Code" button, select GitHub CLI (assuming you've set up the CLI) and copy the code snippet (if you don't have the CLI, copy the HTTPS link).
- In your terminal, paste the copied code snippet, or type
git cloneand then the HTTPS link if not using the CLI, hit enter to complete the cloning process.
Part 3: Make a change
-
Open
README.mdand put your name on the author line, replacing_your name here_. Two ways, pick whichever you like:- Stay in the terminal.
cdinto your cloned repo, and thennano README.mdopens it right there. Edit the line, then Ctrl+O and Enter to save, Ctrl+X to quit. Those are Control on Mac too, not Command - Use your editor.
code .opens the whole project in VS Code. If that command is not found, you skipped thecodestep in the setup session, so use File, then Open Folder instead
- Stay in the terminal.
-
Before you commit, ask git what you did:
git status     # README.md is modified
git diff       # one - line and one + line reflects one line edit
Part 4: Commit and push
- Save (commit) and move (push) your change to GitHub (
git add,git commit -m "...",git push) - Check GitHub in your browser and confirm your name is on the README
- Submit the URL of your repo to the Gradescope assignment L4 Activity. Two ways to get it if you have lost the browser tab: run
git remote -v, which prints it, or look at the first linegit pushprinted a moment ago, which starts withTo https://github.com/....
Troubleshooting
Most issues should have been prevented by carefully completing the full git/GitHub set up process in Discussion 1 - review Dicsussion 1 first, and you've completed those steps, ask for help.
If you weren't able to complete these steps by the end of class, instead of your repo URL (if you don't have one) please type a short description of how far you got and where you are blocked.