Mini Project 2: Build your own AI Chatbot!
In this homework, you will:
- Build three versions of a basic AI chatbot of increasing complexity.
- Write user conversation history with the chatbot to persistent storage and cache hot conversations.
Pre-requisites
This project will reuse concepts we have seen before: structs, HashMaps, and Option.
In addition, you will encounter Result. You will also encounter async/await. However, you won’t have to use either of these concepts deeply. The instructions will give you some hints as to how to use them, but feel free to skim the above link when needed.
Part 0 - Setup
Forking the repository: If you have not already done so, fork our course repository on GitHub.
Ensure your fork is synchronized with the latest version of the course repository. You must be able to see project_2_chatbot in the GitHub web UI of your fork after doing this.
Installation: Clone your fork to your computer. Navigate to the directory where you cloned the repo and confirm that you can see project_2_chatbot.
Then, using a terminal, execute the following commands:
cd project_2_chatbot
cd basic_chatbot
cargo run --release --features v1
This will:
- Build/compile the stencil code. This may take up to 2-5 minutes on your computer.
- Run v1 of the chatbot for the very first time on your computer.
- Because it is the first run, the stencil code will download a Llama LLM to your computer. This may take 2-10 minutes on your computer, depending on your network connection. You will see a progress bar in your terminal showing you the progress of this download.
All in all, this may take anywhere between a few minutes to a quarter of an hour on your computer. Please do this early to avoid any surprises.
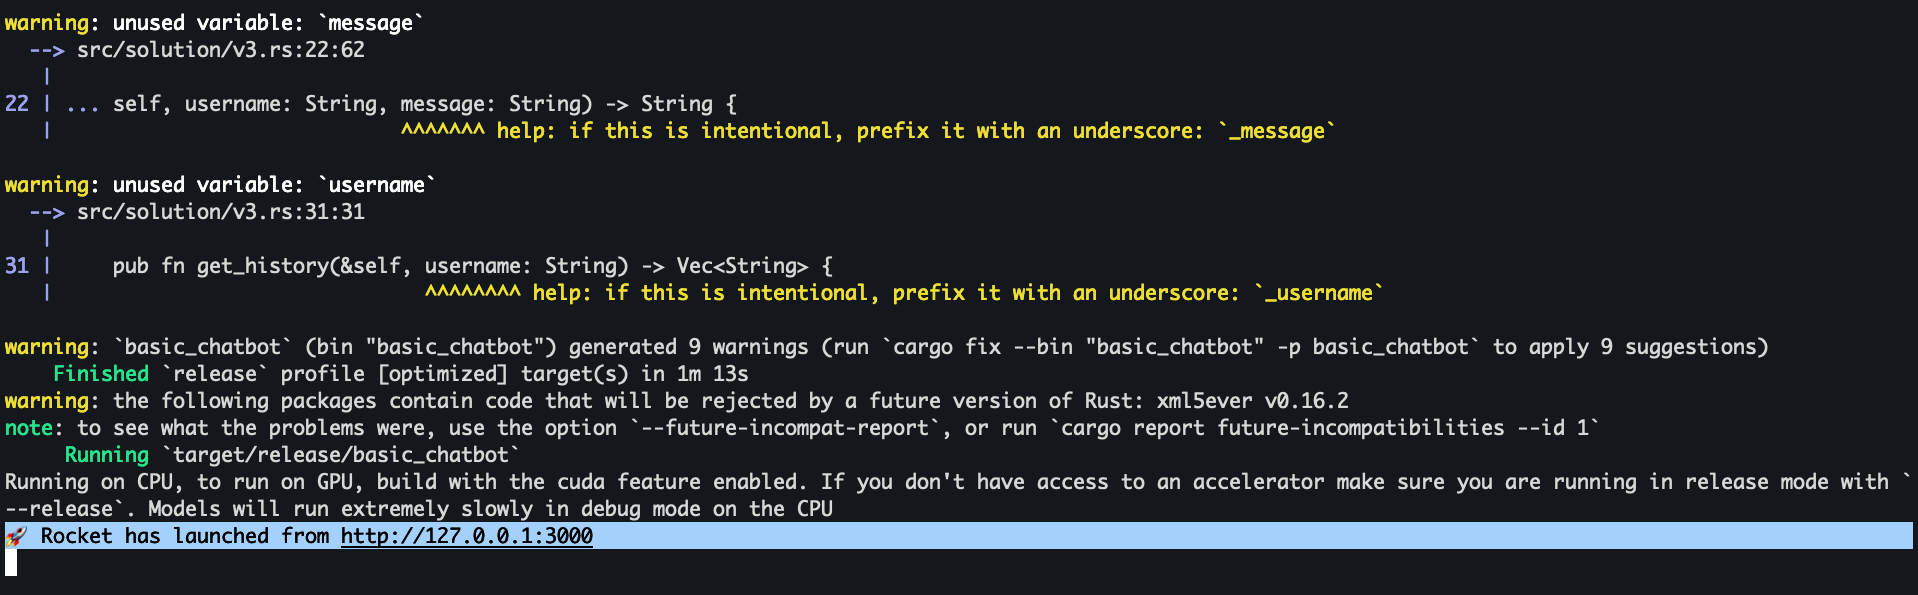
After all the steps are complete, you should see Rocket has launched from http://127.0.0.1:3000 printed in your terminal, as shown in the screenshot below.
Open your favorite web browser (preferably Firefox or Chrome, but certainly not Internet Explorer or Edge, because we are not savages) and navigate to http://127.0.0.1:3000. This will show you our chatbot web interface (shown below!)
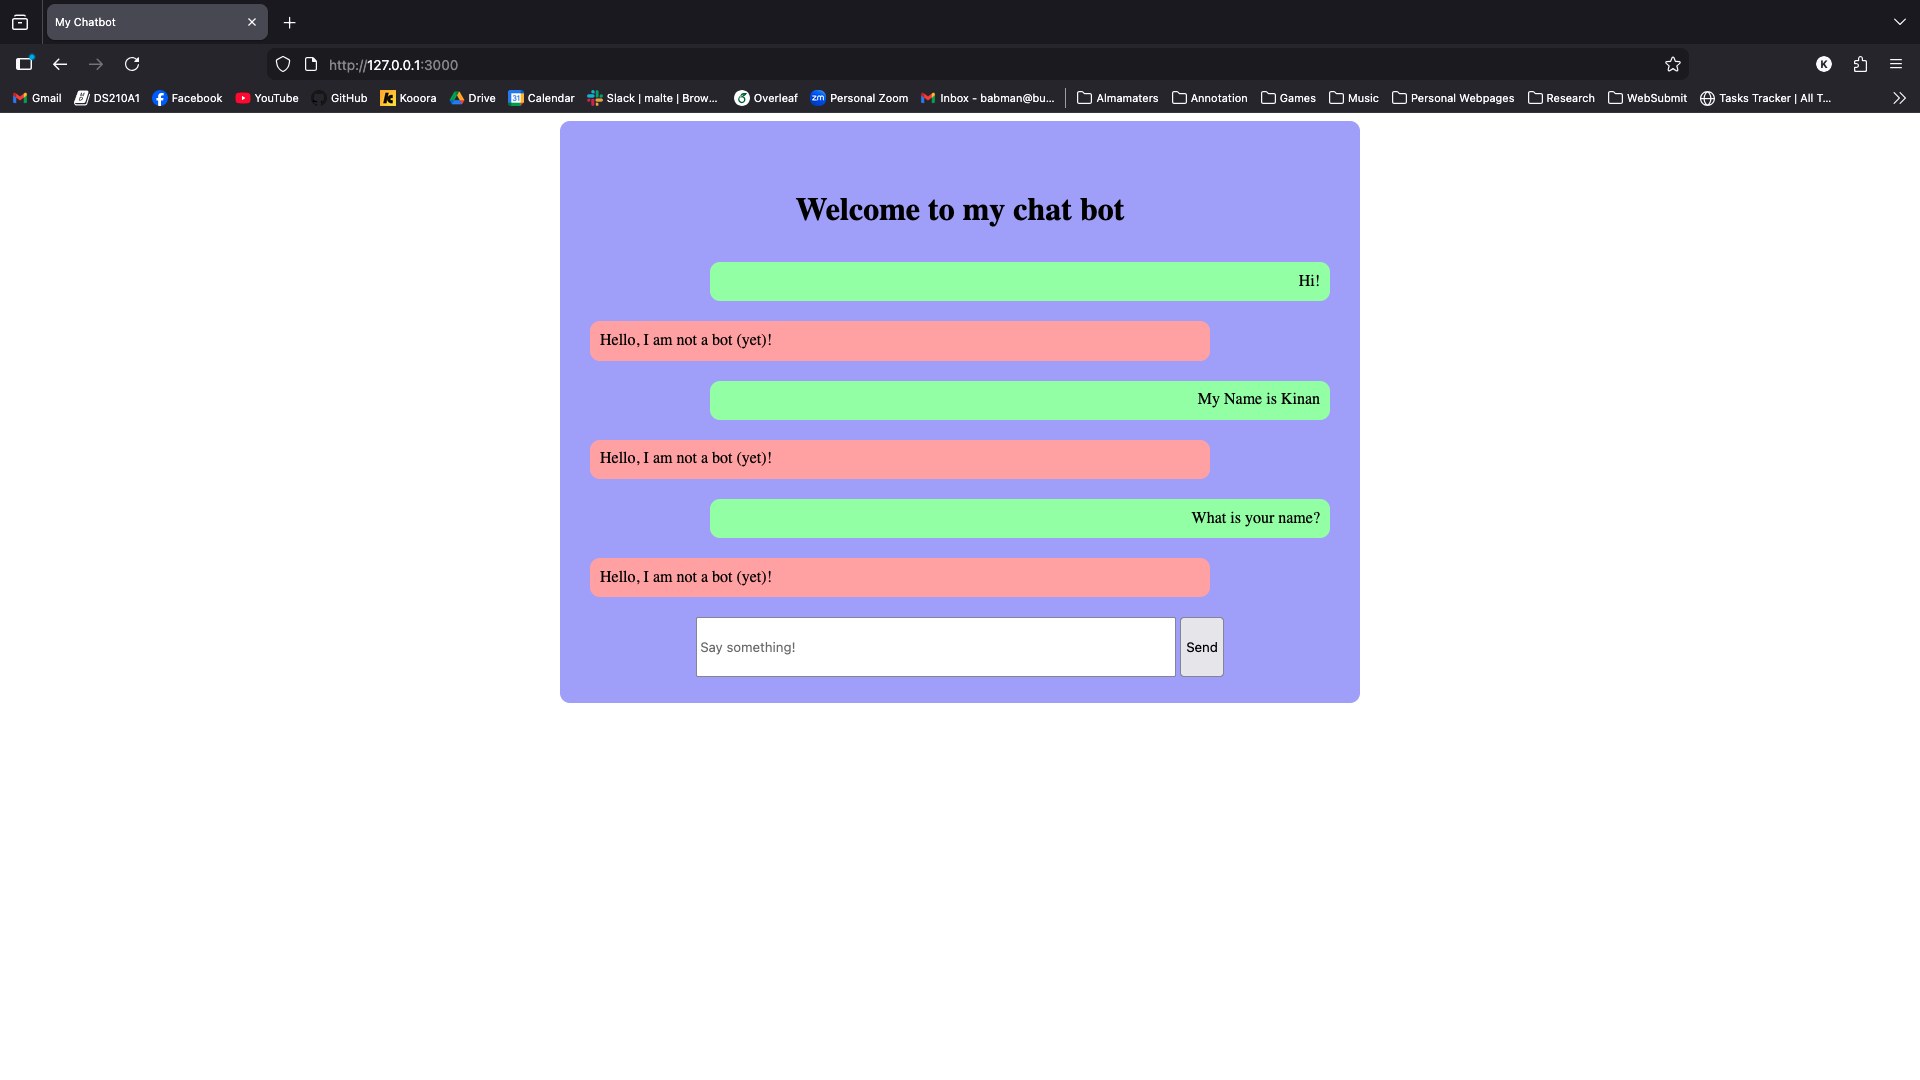
Login using any username of your choosing, then send some messages to the chatbot. As you can see in the screenshot above, the chatbot is not currently functional. Your task is to make it a functional AI chatbot!
Committing your work: Commit and push your work frequently throughout this project, for example, after finishing each chatbot version. This will be part of your grade: we expect at least one commit per version (V1 through V5) with a reasonable commit message describing what you implemented.
Part 1 - Basic Chatbot
V1
Create a new branch called basic_chatbot off of main. You will do all your work for Part 1 on this branch.
Open basic_chatbot using open folder in your VSCode, then navigate to src/solution/v1.rs.
You will see our provided stencil for v1, which includes:
- A
ChatbotV1struct: this represents the version 1 of your Chatbot. It stores the Llama LLM model inside of it as a field calledmodel. - A
newfunction that is a member ofChatbotV1: this function is implemented for you and the stencil executes it once when the website is launched for the very first time to construct your chatbot. - A
chat_with_userfunction that is a member ofChatbotV1: you will have to implement this function. - Several
#[allow(dead_code)]: this tells the Rust compiler not to show you irrelevant warnings if you choose to use a different version of the chatbot later on. You can ignore this.
The provided stencil code uses an external library called kalosm (see line 1). This is a library for managing
and using LLMs from Rust. The Rust compiler already installed this library for you automatically during Part 0.
Let’s look a little more carefully at chat_with_user:
async: this function signature (line 15) uses pub async fn instead of pub fn which we are familiar with. This means that this function is an asynchronous function. Essentially, this tells Rust that this function may take a long time, and so while it executes, Rust can run other functions alongside it.
We have to use async because kalosm is an asynchronous library. The developers of kalosm decided this because invoking an LLM takes a lot of work and time, especially on regular computers and using CPUs.
Thus, the kalosm developers wanted to allow applications to perform other tasks in the meantime, in order to save some time.
message: String: the chat_with_user function receives two arguments. The first is self, representing the instance of ChatbotV1 this function is called over (we have seen this before with project 1 and structs). The second is message, which contains the message the user wants to send to the chatbot and LLM.
You can confirm this by adding println!("{message}");, re-running the chatbot using cargo run --release --features v1, and then sending some messages and looking at the printed output in the terminal.
chat_session: This variable contains a Chat object. This is the interface/type that the kalosm library provides to manage and use chat sessions with the LLM. The exact type of this variable is kalosm::language::Chat<Llama>, which indicates that it is a chat session with a Llama LLM, but you can skip the kalosm::language:: part and write Chat<Llama> instead, because of the use statement on line 1.
with_system_prompt: lines 16-18 show you how the chat_session variable is initialized. We create a new chat model from the llama model we had previously stored inside self (when the Chatbot was first created using new). We then configure it to use the system prompt The assistant will act like a pirate (because I like pirates).
Your task is to complete the implementation of chat_with_user by passing the user-provided message to the chat session, and then retrieving and returning the LLM response.
We suggest you look at the add_message function provided by the kalosm library. Look at the given example for how it can be used.
The add_message function returns the response asynchronously. You can instruct Rust to wait until that entire response is ready by invoking .await on what it returns. For example
let asynchronous_output = chat_session.add_message(...);
let output = asynchronous_output.await;
// notice lack of (), await is not a function; it is a special keyword!
Look at the type of output. How can you extract the response message string from it? Hint: it is similar to (but not exactly the same as) Option and can be dealt with using the same approaches we have seen before for Option.
Testing your chatbot: use cargo run --release --features v1 to test your chatbot. Send different messages and see if your chatbot behaves normally. Feel free to change the system prompt so the chatbot is something other than a pirate if you would like.
What happens if you ask the chatbot about something you or it had said earlier? Try telling it your name then ask it to repeat it later and see what happens.
V2
Continue working on your basic_chatbot branch.
When testing V1, you would have noticed that the chatbot has no memory! It does not remember anything you said before. There is a good reason for this: whenever you send a new message, the stencil code calls chat_with_user. Each of these calls creates a new chat_session — a blank slate! It then adds the new message to that session but then discards the session as it goes out of scope.
To make sure the chatbot has some memory, you will need to retain the chat session (notably, the message history inside it!) between calls to chat_with_user. You do not want to lose the chat_session from previous calls; instead, you want to reuse it.
Navigate to src/solution/v2.rs in VSCode. You will notice that this stencil is a lot more empty than the previous one: this is by design. It gives you the freedom to implement the chatbot any way you like, and importantly, the freedom to store whatever you want inside the ChatbotV2 struct.
Decide what type to store inside ChatbotV2. Then, find a way to initialize that data correctly inside the new function. Finally, copy in the implementation of chat_with_user from v1, and adapt it to the new struct in v2.
Hint: you need to store the Chat object itself across calls, not just the message history. The Chat object is what the LLM uses to continue a conversation, and without it, each call to chat_with_user starts fresh.
Testing your solution: Use this command to test your solution:
cargo run --release --features v2
You should test to ensure that your chatbot remembers things you had said previously.
Additionally, do the following test. Run the chatbot, open your browser and navigate to the chatbot page, then login using your name and tell the chatbot something about you: your name or favorite color, etc.
Then, in a new tab, navigate to the chatbot page again, and log in using a different username, for example, Sophie. Do not tell the chatbot anything. Instead, just ask it for your name or favorite color. See what happens! Is this behavior good behavior? Can you think of any problems that may arise from it in practice?
V3
As your testing in V2 should have shown: your chatbot now has memory, but it cannot distinguish between the histories of different users! It is all mashed together! In V3, your task is to separate this memory by user.
Navigate your VSCode to src/solution/v3.rs. You will notice that this stencil code is also nearly empty, giving you freedom to store and manage whatever data and state you want within the ChatbotV3 struct. You will also notice that chat_with_user here takes one extra argument: username.
Decide what kind of data you want to store in the struct and implement the struct definition and the new function.
Hint: do you think you can achieve the desired functionality while storing only one chat session? Do you need more sessions? How many do you need? Hint: should there be some linking between the username and the corresponding chat session?
After completing the struct definition and new function, implement both chat_with_user and get_history.
chat_with_user: you need to retrieve the correct chat session. After that, you should add the message to it and retrieve the response similarly to v1 and v2.
Hint: what if this is the very first message a user sends? Hint: what if this is the second (or later) message a user sends?
You can test your code using the same workflow as v2: login as two users from two different tabs and see if the chatbot leaks information about one user to the other. Note: your chatbot should still remember information sent by the same user within the same tab.
get_history: you need to retrieve the chat session as well. Then, rather than adding a message, you need to retrieve and return the history of the user’s conversation so far as a vector of strings Vec<String>.
We suggest you look at the session function from kalosm and its history function. Look at the examples provided by kalosm in the two links above for inspiration. Consider printing the history using println!("{:?}", YOUR HISTORY VARIABLE);.
This function’s purpose is to display the history in the UI after a user logs back in (see property 3 in the description below). Note that it cannot be fully tested until chat_with_user is also complete.
Testing and Submission
When you are happy with your v3 implementation, do some manual testing by running the below command and opening several tabs to chat with the chatbot concurrently:
cargo run --release --features v3
Verify that your v3 solution meets these properties:
- The chatbot never reveals information given to it by one user to a different user, no matter how persuasive that second user is.
- The chatbot remembers earlier information given to it by the same user. If it does not,
chat_with_userhas some bug that needs fixing! - After you chat with the chatbot as some specific user, say
Sophie, you can refresh the page (or open a new tab) and log in as that same user again, and you will see all of your previous messaging history in the page. If this does not work, thenget_historyhas some bug that needs fixing!
Feel free to apply fixes and push them to your basic_chatbot branch.
It is also a good idea to run v1 and v2 one or two times again after you are done with all changes, just in case.
When you are done with Part 1, open a pull request from basic_chatbot to main. Your instructor will review it after you are done. Then, create a new branch complete_chatbot off of basic_chatbot, which you will use for Part 2.
Part 2 - Storing and Caching History
In the previous part, you implemented a chatbot that keeps track of conversation history for each user independently.
However, one down side of the v3 implementation is that if the Rust application is terminated, i.e. by closing the terminal you ran it from, and then restarted again (by calling cargo run ...), the entire history is lost.
The reason this happens is that the history is saved inside your chatbot struct (and more specifically, inside a variable in the stencil code that contains an instance of your struct). Like all variables in any program, this data is lost when the program is closed or terminated.
To fix this, we will need to save the data to a file, so that it survives the program even if the program is terminated, and then read the data from that file in future executions of the program.
Work on your complete_chatbot branch (branched off basic_chatbot at the end of Part 1).
V4 - File Chatbot
Start by implementing the missing code in file_library.rs and v4.rs, both located under file_chatbot/src/solution/. The comments in the code point you towards helpful functions provided by the Kalosm library for writing and loading a LlamaChatSession to and from bytes, as well as to fs::write and fs::read for writing and reading bytes to and from a file.
Implement all four functions: chat_with_user, save_chat_session_to_file, get_history, and load_chat_session_from_file.
Once you have implemented all four functions, run the provided history test to check for basic correctness:
cd file_chatbot/
cargo test --test history
If the test passes, move on to manual testing:
cargo run --release
# open http://127.0.0.1:3000 in your browser, log in as a user and send a few messages
# kill the server with ctrl+c
cargo run --release
# log back in as the same user — your history should still be there and the chatbot should remember what you told it
# if you log in as a different user, you should not see that history
# repeat this a few more times: send more messages, kill, restart, resume
As you do more rounds of this, you may notice something unexpected happening. You can also run the following test to surface this more clearly:
cargo test --test bug
Read the test output carefully to understand what is going wrong. This is actually a bug in Kalosm’s with_session() function: it does not behave correctly when you try to resume a previous session.
To work around it, we provide a helper function called fixed_load_session in the fix package. You can find it in fix/src/lib.rs. Read it to understand how it works and then use it in your v4.rs implementation in place of with_session().
Confirm the fix works by re-running both tests:
cargo test
V5 - Cache Chatbot
Reading and writing to a file is actually a lot slower than interacting with data stored inside a variable!
If computer memory was unlimited, one could just keep (a copy of) all the conversations in the memory of the program. However, memory is limited, and if there are thousands or millions of users, the conversations would easily fill up the memory.
A common alternative that programmers use is to employ caching: The overall idea is to keep only the needed conversations in the program’s memory (e.g., inside a variable or data-structure of some kind, like a HashMap or a Vector)
One challenge is it is difficult to predict with certainty which conversations are going to be needed in the future, and which ones are not going to be needed. Instead, we have to try to make guesses. Specifically, to guess which conversations should be cached (kept in memory) and which should not be (not kept in memory, and instead have to be read from files).
A popular and easy-to-understand caching strategy is least recently used (LRU). Here, if the limit on cached conversations is reached, the next time we see a new conversation that we need to cache, we would need to (1) make space for it by kicking out a previous conversation (often called evicting) and (2) put the new conversation in its place.
So, which conversation should we kick out? The LRU strategy is to kick out the least recently used conversation. You can see an example of this in action at this link. Feel free to skip over the parts titled Thoughts about Implementation Using Arrays, Hashing and/or Heap, Efficient Solution - Using Doubly Linked List and Hashing, and Time Complexity.
We will implement this strategy inside cache_chatbot. Rather than building an LRU cache from scratch, we use the
lru Rust crate, which provides a ready-made LruCache type. Open cache_chatbot/src/solution/v5.rs to see how it is set up.
Crucially, note that the ChatbotV5 struct contains the Llama model (which you can use to create Chat objects, same as previous parts) and a cache field that holds the LRU cache. Your task is to implement chat_with_user and get_history.
Specifically, both of these implementations first try to find the relevant conversation in the cache (this code is already given to you). There are two cases:
- The conversation is found in the cache, which returns the underlying
Chatobject. You can use it directly to retrieve the history or add a new message. - The conversation is not in the cache. In this case, you will need to create a new
Chat, and read its content from a file (if one exists) or initialize it as an emptyChatif none exists.
Either way, this conversation now becomes the most recently used one, and you must therefore add it to the cache, including any new messages sent to or received from it.
Implement both get_history and chat_with_user.
Testing your code: ChatbotV5 is configured to keep no more than 2 conversations in the cache. You should test your code to ensure the following behavior is true:
- Open 2 tabs and log in as 2 different users, after the first login, they must both get inserted into the cache, and continuing to use them should not require reading from files after the first read.
- Open a 3rd tab and log in as a new user and begin chatting. The least recently used of the two earlier conversations should get removed from the cache, and the new conversation should replace it.
- If you log in or interact with a conversation that was removed from the cache, your code will read it from its corresponding file, and then put it back in the cache.
Hint: feel free to use print statements in your code to identify which cases (e.g., chat found or not found in cache) are being executed.
Hint: make sure you always write the new conversation session to the corresponding file, so that if the conversation ever gets evicted from the cache in the future, it will be stored / backed up in the file.
Experiment
Once you are happy with both V4 and V5, run the following command from the root of your repository:
cargo experiment
This experiment chats with your implementations of V3, V4, and V5 and measures how long it takes each to retrieve conversation history. It will print the timings for all three versions.
Identify which versions are slower and which are faster. Try to reason about why. Notice that V5 reports two timings: a hot and a cold result. Look at experiments/src/experiment.rs to understand what each measures, then explain the difference between them and how each compares to V3 and V4.
Submission Instructions
After you are done, make sure all your code is on a branch called complete_chatbot.
Please make sure that v4 and v5 behave as expected, that all tests pass (cargo test), and that cargo experiment runs successfully.
When you are done with Part 2, open a pull request from complete_chatbot to main. Your instructor will review it.
Also submit your repository via Gradescope.